Table of contents
No headings in the article.
Create 3 EC2 instances. Make sure all three are created with the same key pair.
To create three EC2 instances with the same key pair using the AWS Management Console, you can follow these steps:
Log in to the AWS Management Console (https://console.aws.amazon.com/).
Go to the EC2 service.
Click on the "Instances" link in the left sidebar.
Click on the "Launch Instance" button.
Select an Amazon Machine Image (AMI) based on your requirements and click on the "Select" button.
Choose an instance type (e.g., t2.micro) and click on the "Next: Configure Instance Details" button.
Configure the instance details, such as the number of instances (set it to 3), network settings, subnet, security group, and any other desired settings. Ensure that you select the same key pair for all three instances.
Click on the "Next: Add Storage" button to configure the storage options as needed.
Review the settings on the "Review Instance Launch" page and click on the "Launch" button.
In the key pair selection window, select the same key pair for all three instances from the drop-down menu.
Select the acknowledgement checkbox and click on the "Launch Instances" button.

Install Ansible on the host server
Add Ansible File:
Once the system is connected add the Ansible repository.
sudo apt-add-repository ppa:ansible/ansible

Update the system packages:
Update the system packages to ensure you have the latest software versions:
sudo apt update -y
Install Ansible:
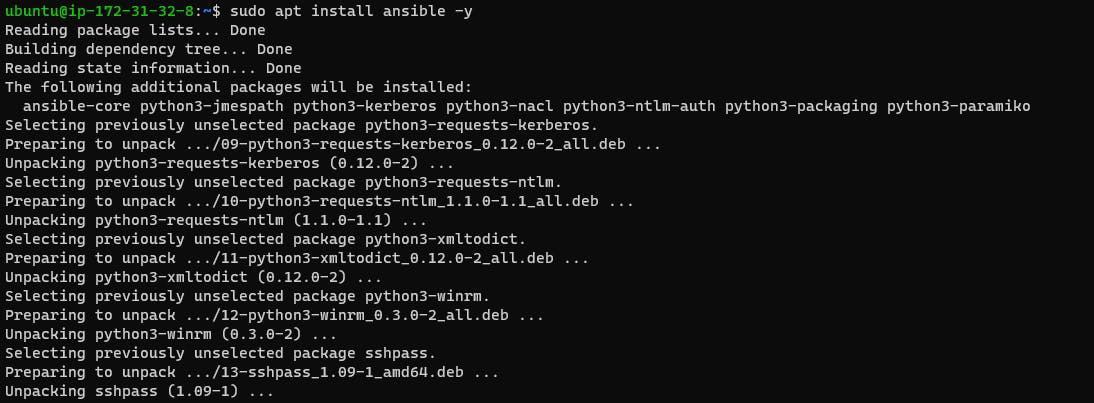
Ansible can be installed on the EC2 instance using the package manager, "apt" in the case of Ubuntu. Run the following command to install Ansible
sudo apt install ansible -y
Verify the Ansible installation:
After the installation completes, verify that Ansible is installed correctly by checking its version:
ansible --version
Copy the private key from the local to the Host server (Ansible_host) at (/home/ubuntu/.ssh)
copy the ssh key to the Master node.
scp -i "key-1.pem" key-1.pem ubuntu@ec2-35-154-69-87.ap-south-1.compute.amazonaws.com:/home/ubuntu/.ssh
Access the inventory file using sudo vim /etc/ansible/hosts
Open the Ansible inventory file (e.g.,
/etc/ansible/hosts) on your Ansible control machine.Add the IP addresses or hostnames of the new instances to the appropriate groups or create new groups if needed. For example:
  [demo-servers]
    server1 ansible_host=43.205.242.15
    server2 ansible_host=65.0.93.102

    [all:vars]
    ansible_ssh_private_key_file=/home/ubuntu/.ssh/key-1.pem
    ansible_python_interpreter=/usr/bin/python3
    ansible_user=ubuntu
Save the changes to the inventory file.

Create a playbook to install Nginx
Playbook to install Nginx using Ansible:
-
 name: install nginx
 hosts: demo-servers
 become: yes

 tasks:
   - name: Install nginx
     apt:
       name: nginx
       state: latest

   - name: start nginx
     service:
       name: nginx
       state: started
       enabled: yes
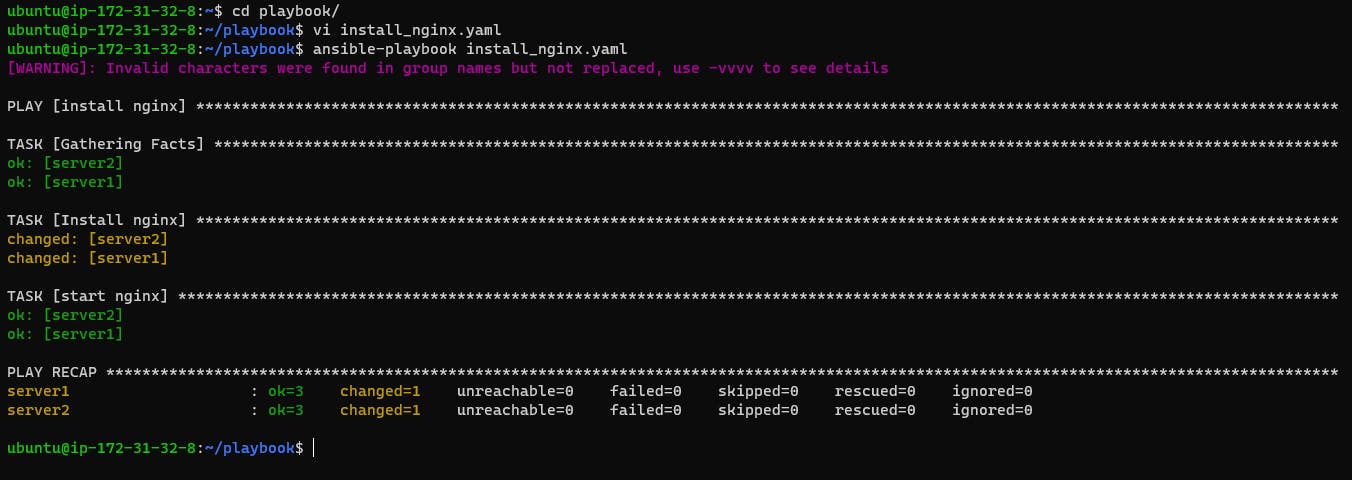
Save the playbook in a file, e.g., install_nginx.yml, and then run the following command to execute it:
ansible-playbook -i inventory_file install_nginx.yaml

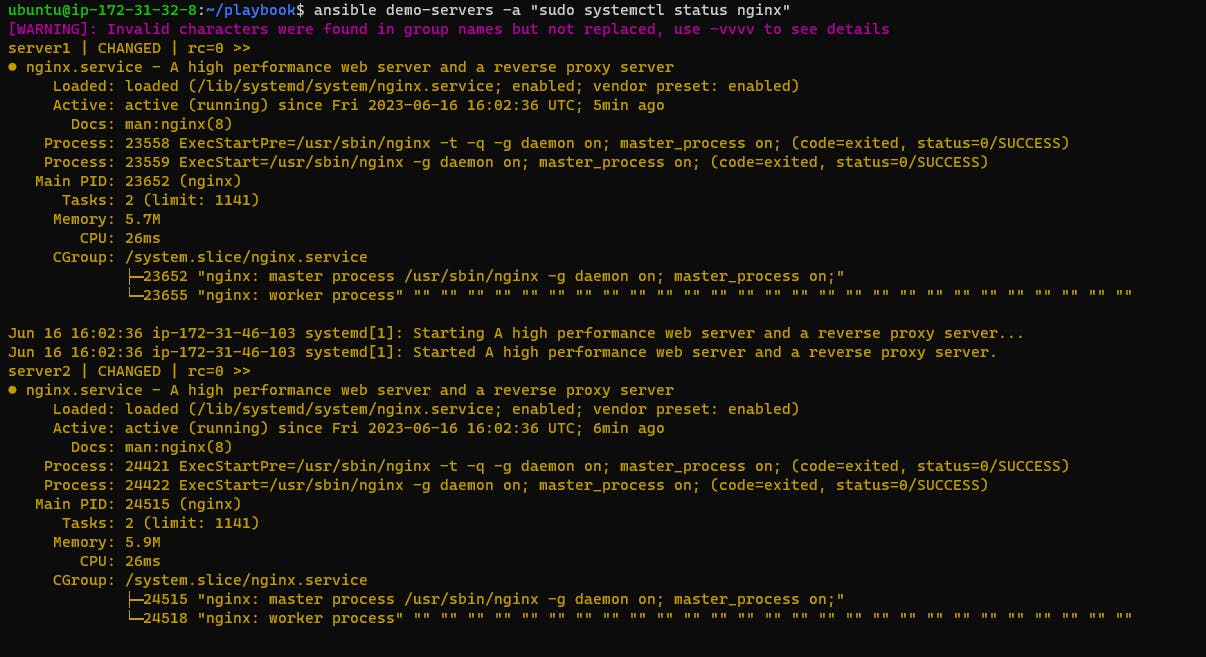
Check the status of Nginx on the two EC2 instances
ansible demo-servers -a "sudo systemctl status nginx"

Deploy a sample webpage using the Ansible playbook
Create a new file index.html in the playbook directory, and add some sample content
<!DOCTYPE html>
<html>
<head>
    <title>Ansible Demo</title>
</head>
<body>
    <h1>Hello Everyone this page is deploy on server using ansible </h1>
</body>
</html>
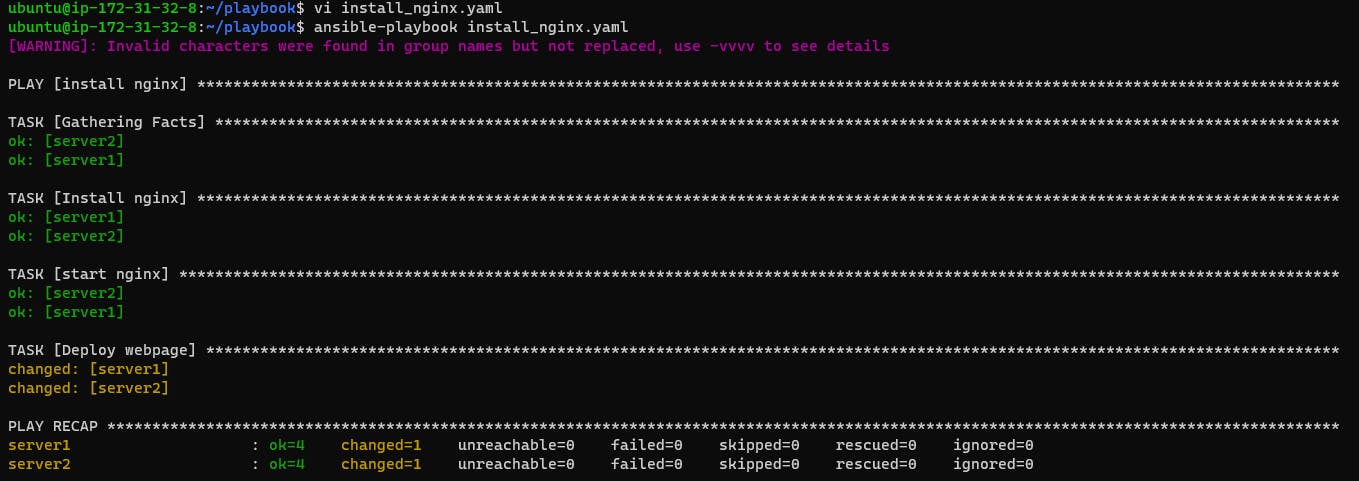
Update an ansible playbook file, install_nginx.yaml, in the playbook directory:
 - name: Deploy webpage
     copy:
       src: index.html
       dest: /var/www/html/index.html
#This playbook will copy the index.html file to the default Nginx web server
#document root directory at /var/www/html/.
Run the playbook

Once the playbook finishes executing, open a web browser and enter the public IP address of one of the EC2 instances running Nginx.

