


What is CodeDeploy?
AWS CodeDeploy is a fully managed deployment service provided by Amazon Web Services (AWS). It is designed to automate application deployments to various compute services, including Amazon EC2 instances, AWS Fargate, AWS Lambda, and on-premises servers.
CodeDeploy enables developers to deploy applications in a consistent and reliable manner, allowing for rapid and iterative software releases. It takes care of the complexity involved in deploying applications by automating the deployment process and providing capabilities for rolling updates, traffic shifting, and health monitoring.
Here are some key features of AWS CodeDeploy:
Deployment Configuration: CodeDeploy provides flexible deployment configurations that allow you to define the deployment strategy, such as a simultaneous deployment to all instances or a phased deployment with a specific batch size and interval.
Deployment Groups: You can organize instances into logical groups called deployment groups, which allows you to deploy updates to specific sets of instances, enabling targeted deployments for different environments or regions.
Deployment Types: CodeDeploy supports multiple deployment types, including in-place deployments and blue/green deployments. In an in-place deployment, the application is deployed directly to the existing instances. In a blue/green deployment, a new set of instances (green) is provisioned, the application is deployed to them, and then traffic is shifted from the old instances (blue) to the new ones.
Rollback: If any issues arise during the deployment process, CodeDeploy can automatically roll back the application to the previous version, minimizing downtime and impact.
Monitoring and Health Checks: CodeDeploy includes built-in health monitoring and detection capabilities. It continuously monitors the health of instances and can automatically stop or roll back a deployment if errors or failures are detected.
Integration: CodeDeploy integrates with other AWS services, such as AWS CloudFormation, AWS CodePipeline, and AWS Elastic Beanstalk, allowing you to incorporate it into your existing deployment pipelines and workflows.
Overall, AWS CodeDeploy simplifies the process of deploying applications, reduces the risk of errors, and enables efficient and automated software releases across a variety of compute environments.
About Appspec.yaml file for CodeDeploy.
The appspec.yaml file is a crucial component in AWS CodeDeploy deployments. It is a YAML-formatted file that provides CodeDeploy with instructions on how to deploy an application to the target instances. The appspec.yaml file resides in the root directory of the application's deployment package.
Here are some key elements and functionalities of the appspec.yaml file:
File Structure: The
appspec.yamlfile consists of various sections, each specifying different deployment actions and hooks. The main sections includeversion,Resources,Hooks, andPermissions.Version: The
versionsection specifies the version of theappspec.yamlfile format being used. For example,version: 0.0indicates the initial version.Resources: In the
Resourcessection, you define the files and directories that should be copied to the target instances during the deployment. This includes source files, destination directories, and file permissions.Hooks: The
Hookssection defines the lifecycle events and scripts that should be executed at various stages of the deployment process. CodeDeploy provides several hooks, includingBeforeInstall,AfterInstall,ApplicationStart,ApplicationStop, andValidateService, among others. These hooks allow you to perform custom actions, such as running scripts, configuring the environment, or restarting services.Permissions: The
Permissionssection specifies any additional permissions that may be required for performing specific deployment actions, such as accessing AWS resources or executing certain commands.Variables: The
appspec.yamlfile supports variables that can be used to parameterize the deployment process. Variables are defined using the${VariableName}syntax and can be used within the file paths, commands, or scripts.Rollbacks: If any errors or failures occur during a deployment, CodeDeploy can automatically roll back the application to the previous version. The
appspec.yamlfile can define aRollbacksection that specifies the actions to be taken during a rollback.
The appspec.yaml file serves as a blueprint for CodeDeploy, outlining the deployment steps, scripts, and configurations required for a successful deployment. It allows for customization and control over the deployment process, enabling you to tailor it to your application's specific requirements.
Note that the specific syntax and available options in the appspec.yaml file may vary depending on the deployment target (e.g., EC2 instances, Lambda functions) and the deployment type (e.g., in-place, blue/green). It's important to refer to the AWS CodeDeploy documentation for detailed guidance and examples relevant to your deployment scenario.
Example appspec.yaml file
version: 0.0
os: linux

resources:
  - /path/to/source/files
  - /path/to/destination/directory

hooks:
  BeforeInstall:
    - location: scripts/install_dependencies.sh
      timeout: 300
      runas: root

  AfterInstall:
    - location: scripts/configure_app.sh
      timeout: 300
      runas: root

  ApplicationStart:
    - location: scripts/start_app.sh
      timeout: 300
      runas: root

  ApplicationStop:
    - location: scripts/stop_app.sh
      timeout: 300
      runas: root

  ValidateService:
    - location: scripts/validate_service.sh
      timeout: 300
      runas: root

permissions:
  - object: /
    pattern: "**"
    owner: ec2-user
    group: ec2-user

rollback:
  on:
    - DeploymentFailure
    - DeploymentStopOnAlarm
  hooks:
    - BeforeInstall
    - AfterInstall
    - ApplicationStart
Task-01
Deploy index.html file on EC2 machine using nginx
Create a CodeDeploy application:
You need to create a CodeDeploy application to deploy your index.html file. You can do this in the AWS Management Console.
In CodeDeploy, go to Applications and click on 'Create application'.
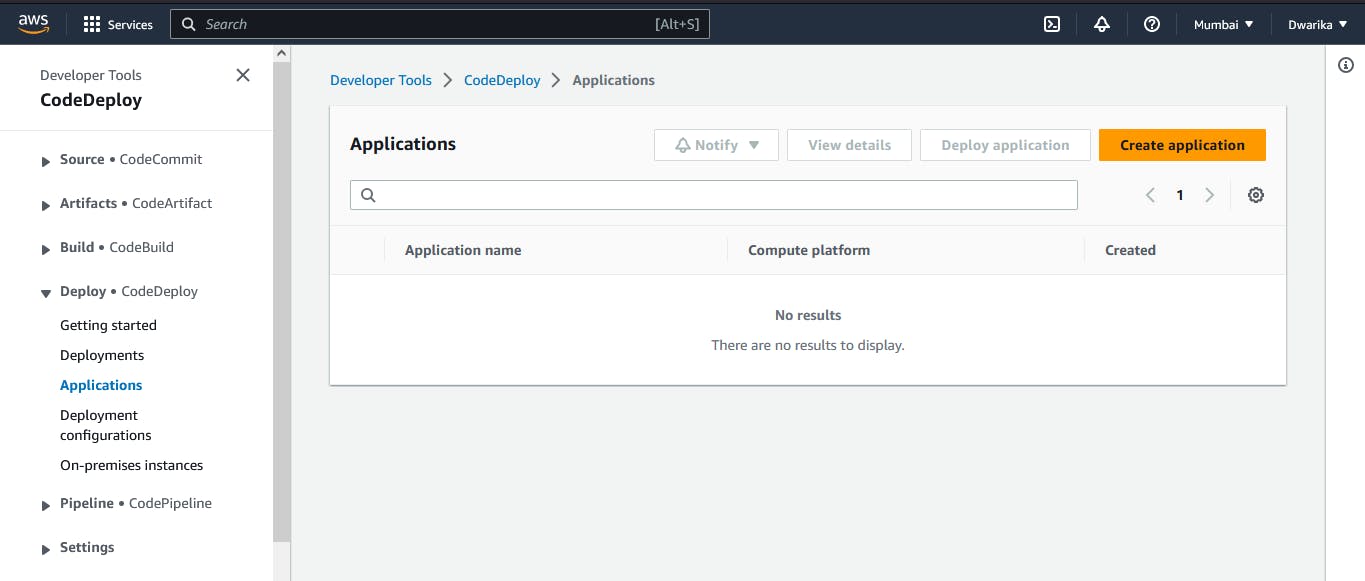
Select compute platform 'EC2/on premises' and click on 'Create application'.

The application is successfully created.

Create a 'service role' for enabling communication between code deployment and other AWS services.
Go to IAM service and create 'code-deploy-service-role' with the below permissions

Set up an EC2 instance:
You will need to create an EC2 instance on which you want to deploy the index.html file.
Create a Ubuntu EC2 instance

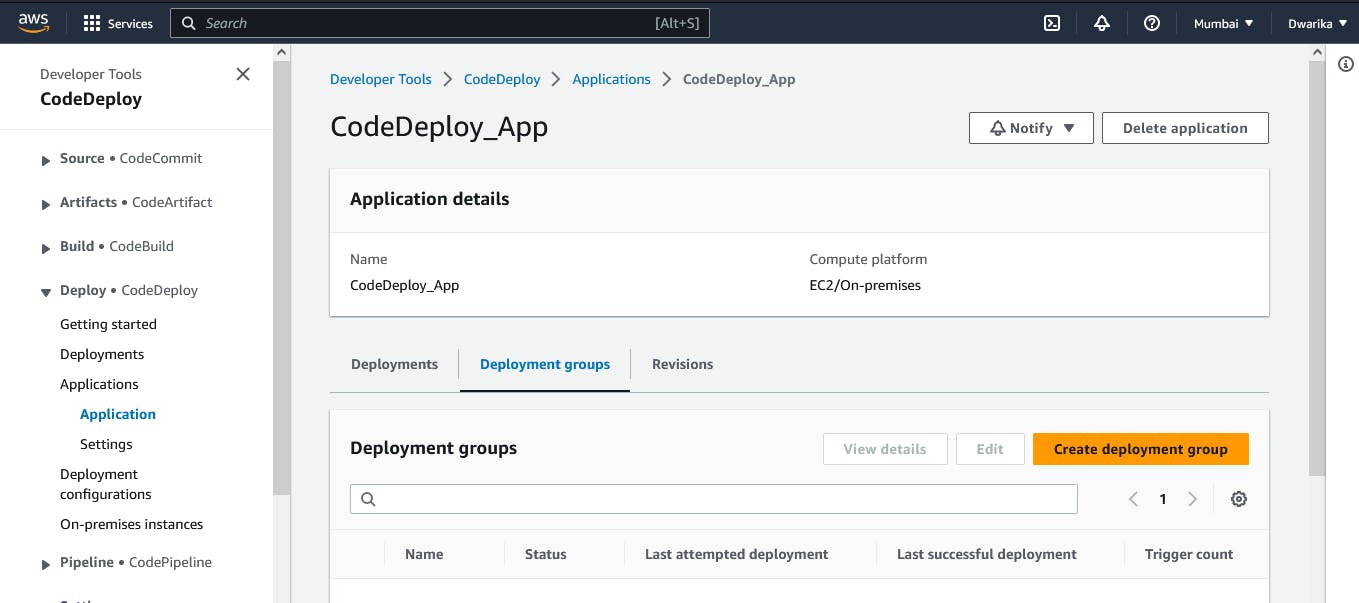
Create a deployment group:
Once you have created a CodeDeploy application, you need to create a deployment group. A deployment group is a set of EC2 instances where you want to deploy your application.
Add a deployment group name and choose 'Service role'.
Add a Deployment group name and Past Role Details in the service Role.

We Manually Install CodeDeploy Agent, that is why here we select Never.
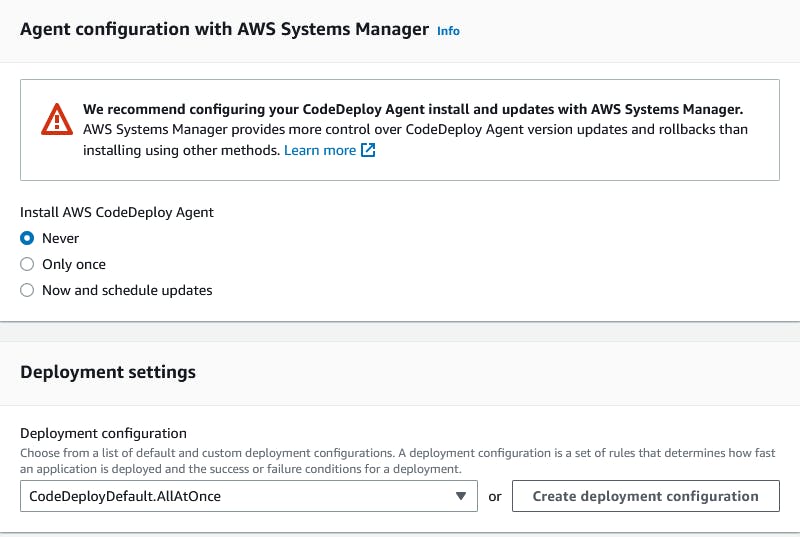
Add instance name.

Click on 'Create deployment group'.

A deployment group is created

you have to setup a CodeDeploy agent in order to deploy code on EC2
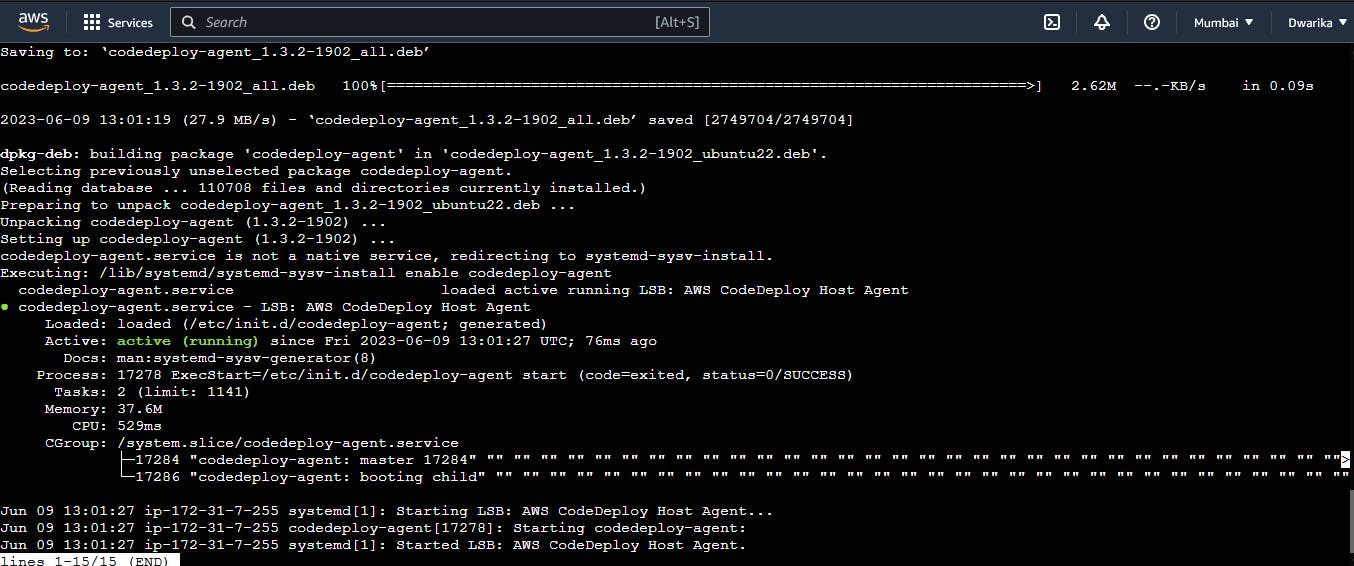
Install the CodeDeploy agent:
You need to install the CodeDeploy agent on your Ubuntu EC2 instance. The CodeDeploy agent is a software package that runs on your instance and interacts with CodeDeploy to deploy your application. You can install the CodeDeploy agent by running the following script on your EC2 instance:
  #!/bin/bash
  # This installs the CodeDeploy agent and its prerequisites on Ubuntu 22.04.
  sudo apt-get update
  sudo apt-get install ruby-full ruby-webrick wget -y
  cd /tmp
  wget https://aws-codedeploy-us-east-1.s3.us-east-1.amazonaws.com/releases/codedeploy-agent_1.3.2-1902_all.deb
  mkdir codedeploy-agent_1.3.2-1902_ubuntu22
  dpkg-deb -R codedeploy-agent_1.3.2-1902_all.deb codedeploy-agent_1.3.2-1902_ubuntu22
  sed 's/Depends:.*/Depends:ruby3.0/' -i ./codedeploy-agent_1.3.2-1902_ubuntu22/DEBIAN/control
  dpkg-deb -b codedeploy-agent_1.3.2-1902_ubuntu22/
  sudo dpkg -i codedeploy-agent_1.3.2-1902_ubuntu22.deb
  systemctl list-units --type=service | grep codedeploy
  sudo service codedeploy-agent statusThe code agent is running.
Change your region according to you, save the above Script with .sh extension also give execute permission using chmod command and run the script.
The code agent is running.
Create an index.html file:
you need to create an index.html file that you want to deploy. You can create a simple HTML file
  <!DOCTYPE html>
  <html>
  <head>
      <title>Hello Everyone</title>
  </head>
  <body>
      <h1>Hello everyone</h1>
  </body>
  </html>
Task-02
Add
appspec.yamlfile to CodeCommit Repository and complete the deployment process.Create an appspec.yaml file:
You need to create an app spec.yaml file that tells CodeDeploy what to do with your application. Here is an app spec.yaml file that deploys the index.html file on nginx. also, create 2 scripts for installing nginx and starting nginx.
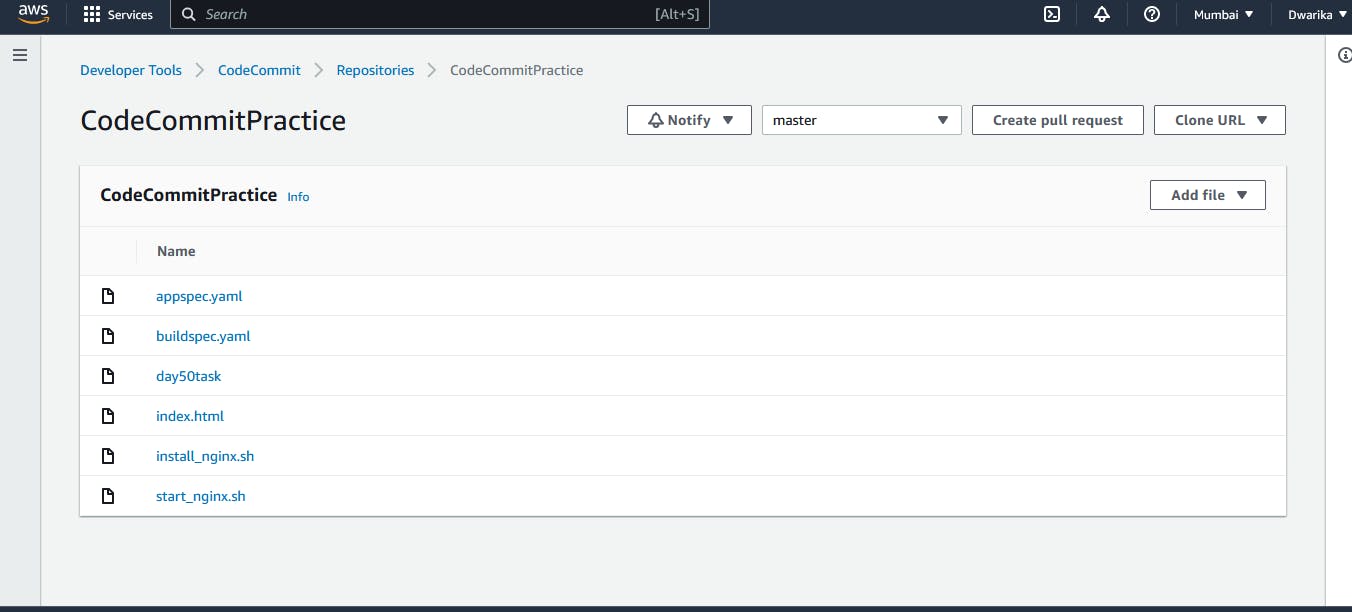
  version: 0.0
  os: linux

  resources:
    - /
    - /var/www/html

  hooks:
    AfterInstall:
      - location: scripts/install_nginx.sh
        timeout: 300
        runas: root

    ApplicationStart:
      - location: scripts/start_nginx.sh
        timeout: 300
        runas: root
sudo apt update -y sudo apt install nginx -ysudo systemctl start nginx sudo systemctl enable nginxPush all the files to code commit using the 'git add' and 'git commit' commands.
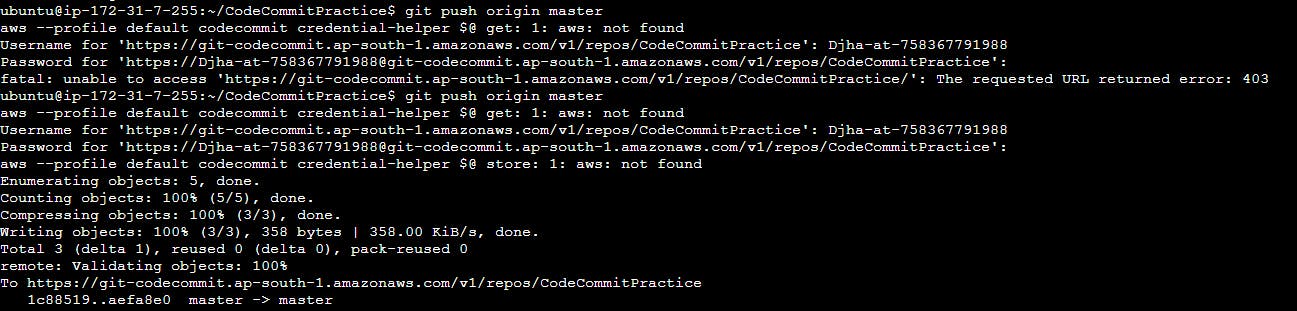
All the files are updated in the code commit.
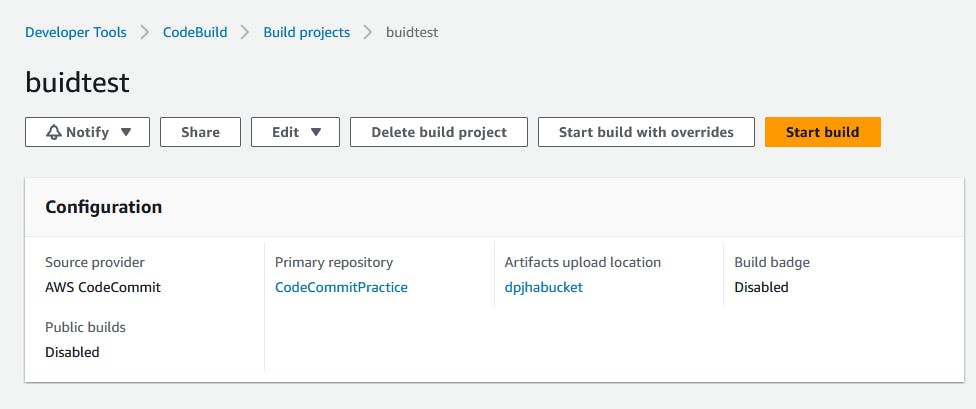
Add changes to the buildspec.yml file

In build projects, Edit and choose 'Artifacts'.

In Artifacts, select artifact type as Amazon S3 and choose bucket name.
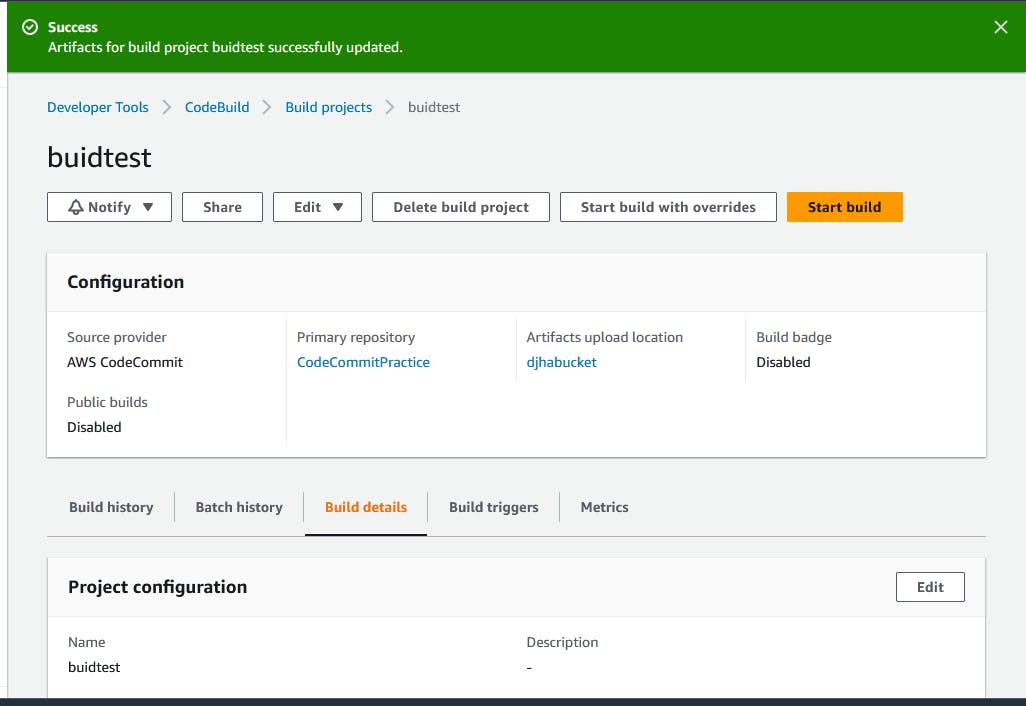
Click on 'Update artifacts'.
Artifact upload location successfully added. Click on 'Start build'.
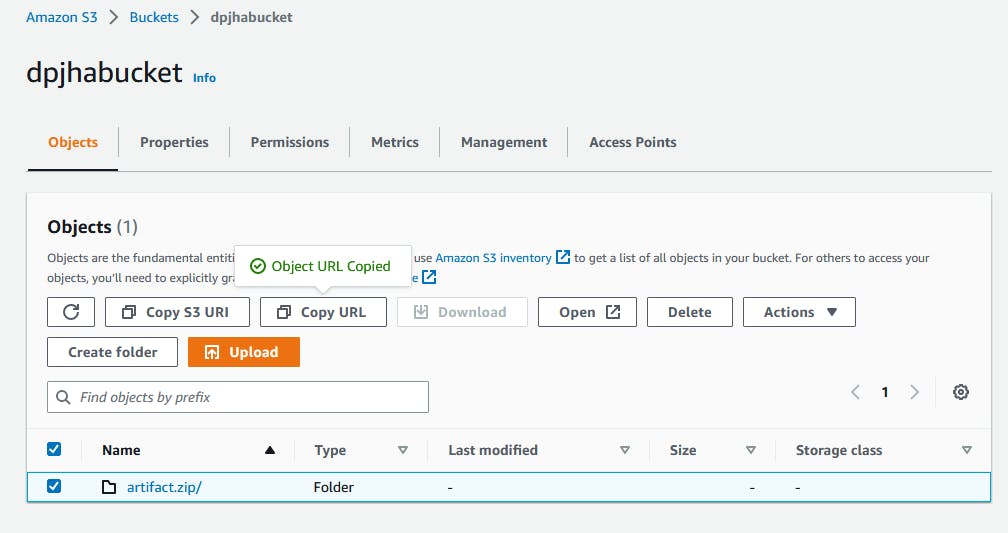
The build is Succeeded.

After building completion, go to the S3 bucket and copy the S3 URL of the nginx_code_output zip file.
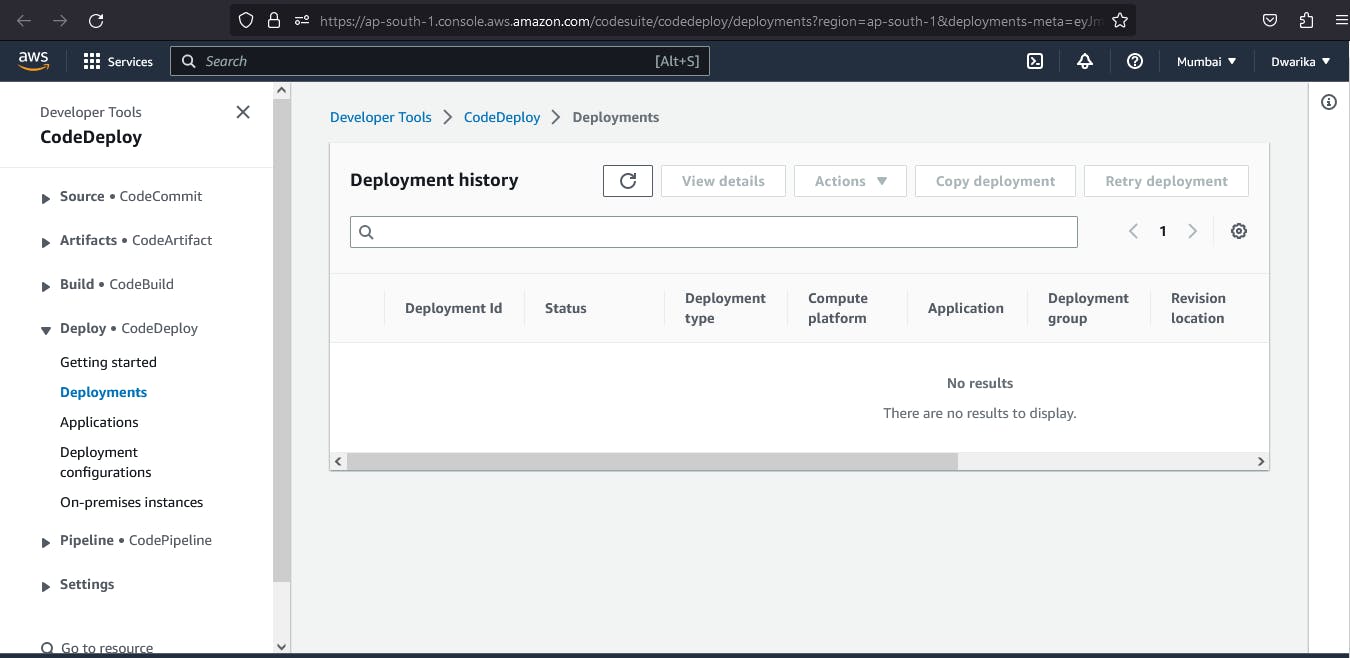
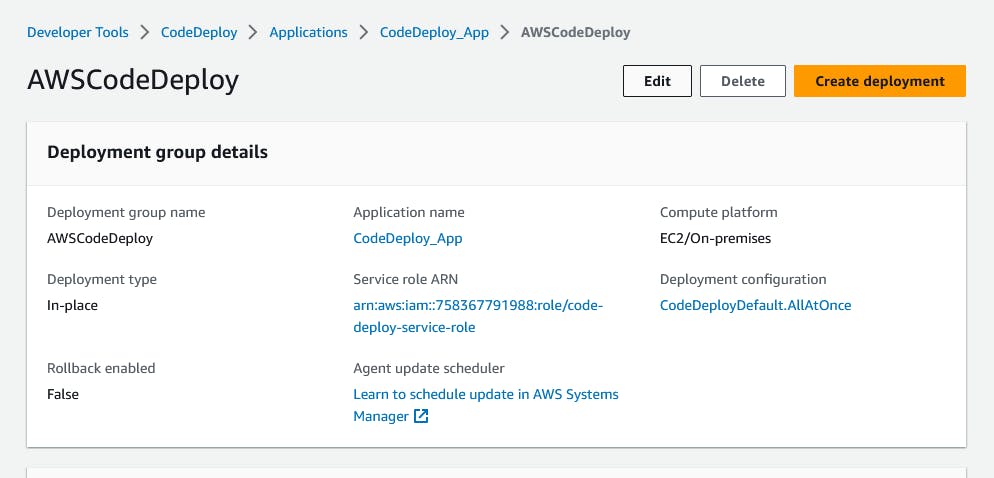
Create deployment:
In the Application, Go to Deployments and click on 'Create deployment'
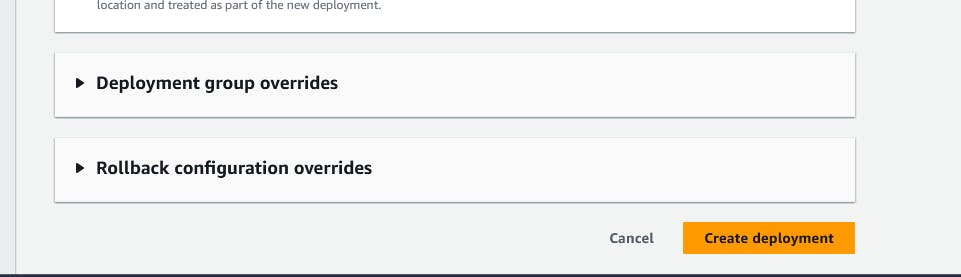
In revision type, select Amazon S3 and paste the above copied S3 url to the revision location.

Click on 'Create deployment'.
Deployment is created. but events are pending state.

EC2 doesn't have any role policy to retrieve the data from S3 to CodeDeploy.
To create a new service role for enabling communication between EC2 and S3, code deploy.
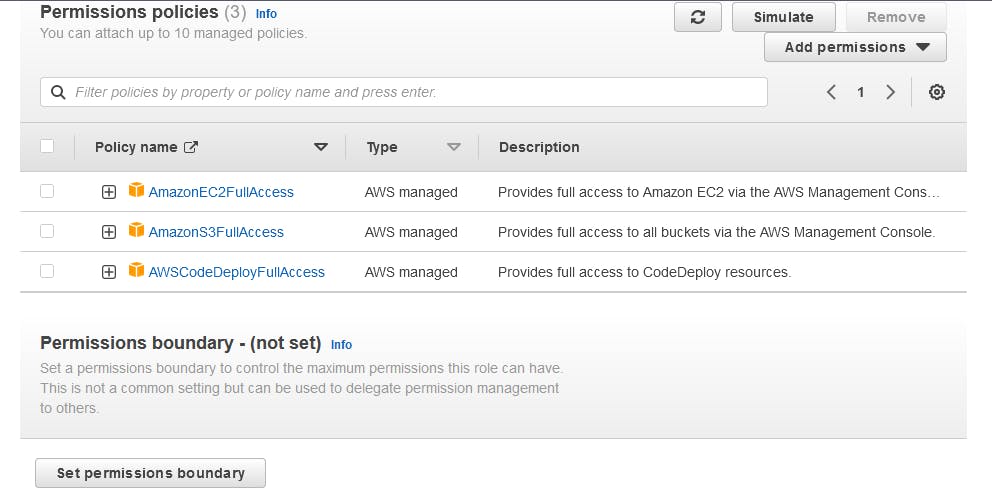
Attach that service role to the EC2 instance.
Select EC2 instance, In actions, go to security and click on 'Modify IAM role'.
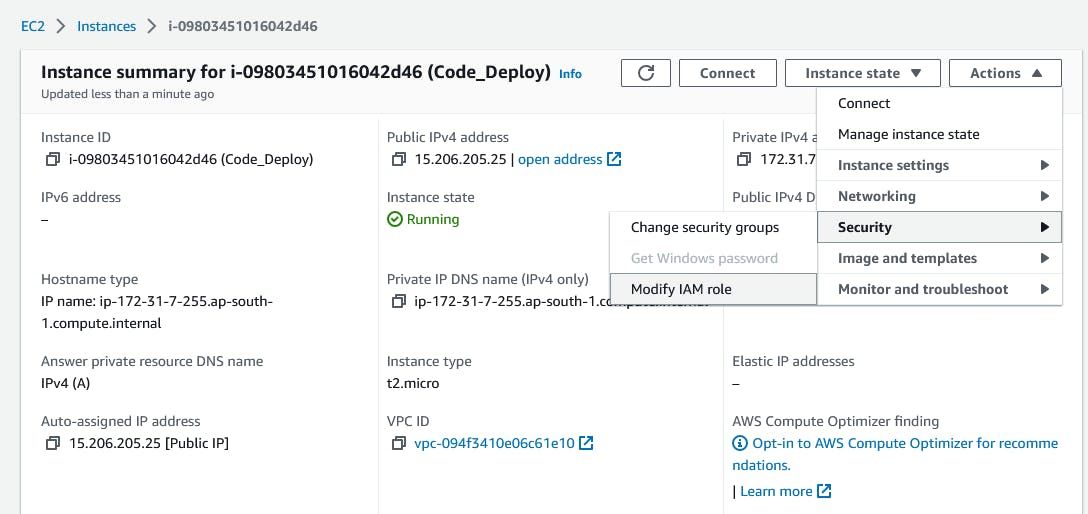
Select the service role that we created in the above steps.

After updating the IAM role, restart the code-deploy agent.

Deployment status is Succeeded.
All events Succeeded.

Browse the instance public IP address, it will show the output of the index.html file.
Thankyou....