Understanding Configuration Management with Ansible
Day 55

What's this Ansible?
Ansible is an open-source automation tool, or platform, used for IT tasks such as configuration management, application deployment, intraservice orchestration, and provisioning
Task-01
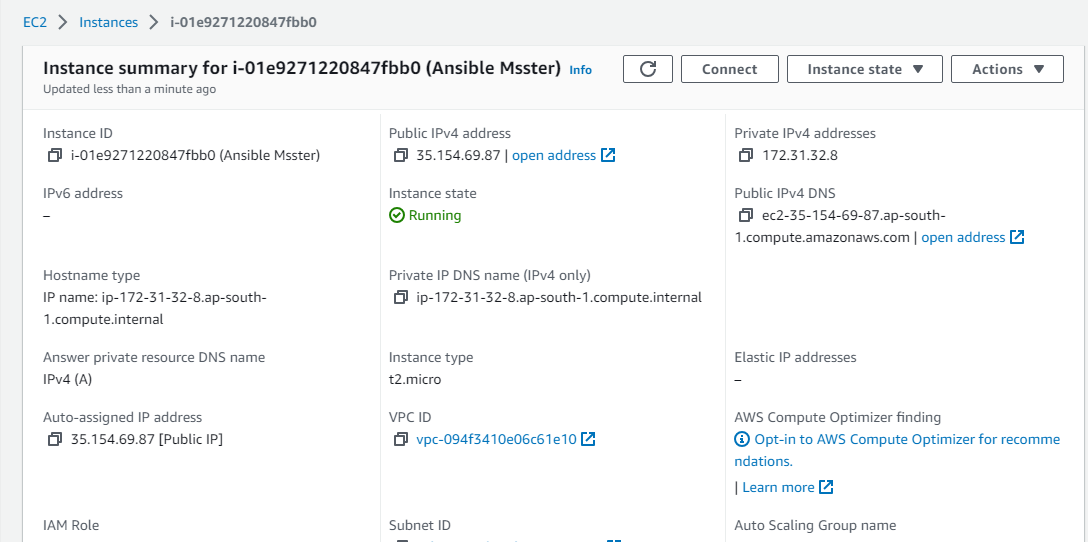
Installation of Ansible on AWS EC2 (Master Node)
To install Ansible on an AWS EC2 instance (Master Node), you can follow these general steps:
Launch an AWS EC2 instance:
Go to the AWS Management Console and navigate to the EC2 service.
Click on "Launch Instance" to start the instance creation process.
Select an appropriate AMI (Amazon Machine Image) based on your requirements.
Choose the desired instance type, configure other details like security groups, storage, and networking, and launch the instance.
Connect to the EC2 instance:
Once the instance is running, you need to connect to it using SSH.
Use a terminal or SSH client to connect to the instance using the SSH key pair associated with the instance. For example:
ssh -i /path/to/key.pem ec2-user@<public-ip-or-dns>
Add Ansible File:
Once the system is connected add the Ansible repository.
sudo apt-add-repository ppa:ansible/ansible
Update the system packages:
Update the system packages to ensure you have the latest software versions:
sudo apt update -y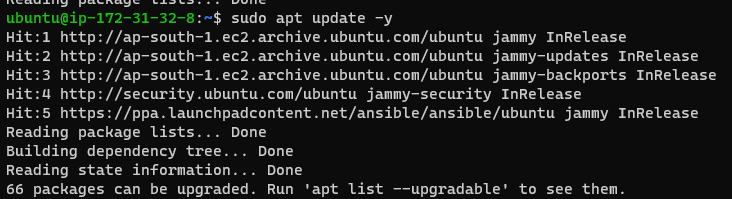
Install Ansible:
Ansible can be installed on the EC2 instance using the package manager, "apt" in the case of Ubuntu. Run the following command to install Ansible:
sudo apt install ansible -y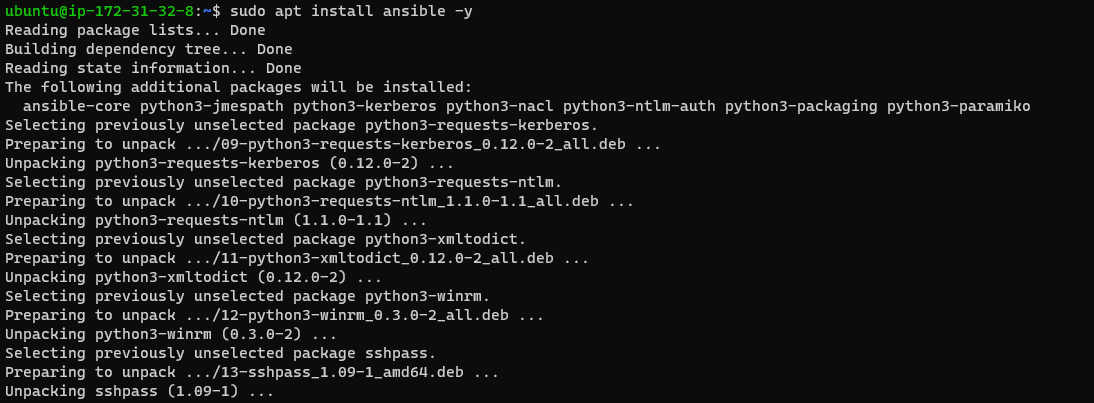
Verify the Ansible installation:
After the installation completes, verify that Ansible is installed correctly by checking its version:
ansible --version
Ansible should be installed on your AWS EC2 instance (Master Node), and you can begin using it to manage your infrastructure.
About Hosts file in ansible.
In Ansible, the Hosts file is used to define the inventory of hosts that Ansible can manage. It is a text file that lists the target hosts or groups of hosts on which Ansible can run tasks and playbooks.
By default, the Ansible Hosts file is named "hosts" and is located in the /etc/ansible/ directory on the Ansible control machine. However, you can specify a different inventory file using the -i option when running Ansible commands.
The Hosts file in Ansible has a simple syntax. Each line represents a host or a group of hosts, and you can assign specific variables or group assignments to them. Here's an example of a basic Hosts file:
[webservers]
webserver1 ansible_host=192.168.1.101
webserver2 ansible_host=192.168.1.102

[database]
dbserver1 ansible_host=192.168.1.201
We have two groups defined: [webservers] and [database]. Each group contains one or more hosts, and each host is assigned an ansible_host variable, which represents the IP address or hostname of the target machine.
You can also use patterns to define groups of hosts dynamically. For example, you can use IP address ranges or wildcard characters to match multiple hosts. Here's an example:
[webservers]
webserver[1:3] ansible_host=192.168.1.[101:103]

[database]
dbserver* ansible_host=192.168.1.[201:203]
In this case, the [webservers] group will include three hosts with IP addresses 192.168.1.101, 192.168.1.102, and 192.168.1.103. The [database] group will include hosts with IP addresses 192.168.1.201, 192.168.1.202, and 192.168.1.203, matching the wildcard pattern.
The Hosts file can also include additional information such as SSH port, remote user, SSH private key, etc. You can refer to the Ansible documentation for more advanced options and features related to the Hosts file and inventory management in Ansible.
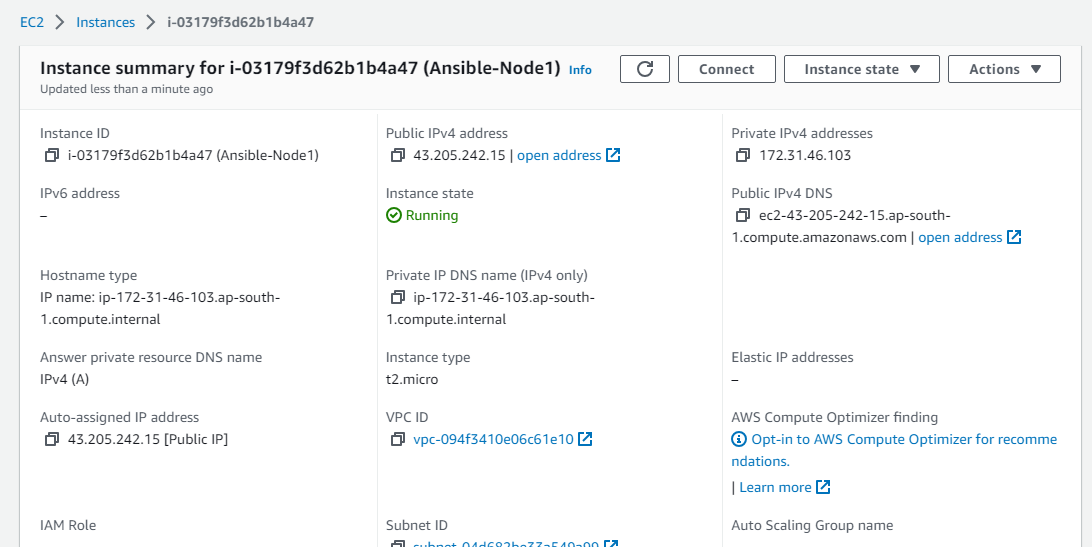
Task-02
Setup 2 more EC2 instances with the same Private keys as the previous instance (Node)
To set up two more EC2 instances with the same private keys as the previous instance, you can follow these general steps:
Launch the EC2 instances:
Go to the AWS Management Console and navigate to the EC2 service.
Click on "Launch Instance" to start the instance creation wizard.
Select an appropriate AMI (Amazon Machine Image) for your instances.
Choose the instance type, network settings, and other configuration options.
In the "Configure Instance" step, select the same key pair used for the previous instance under the "Key pair" section.
Complete the instance launch process by following the remaining steps, such as configuring storage, adding tags, and setting up security groups.
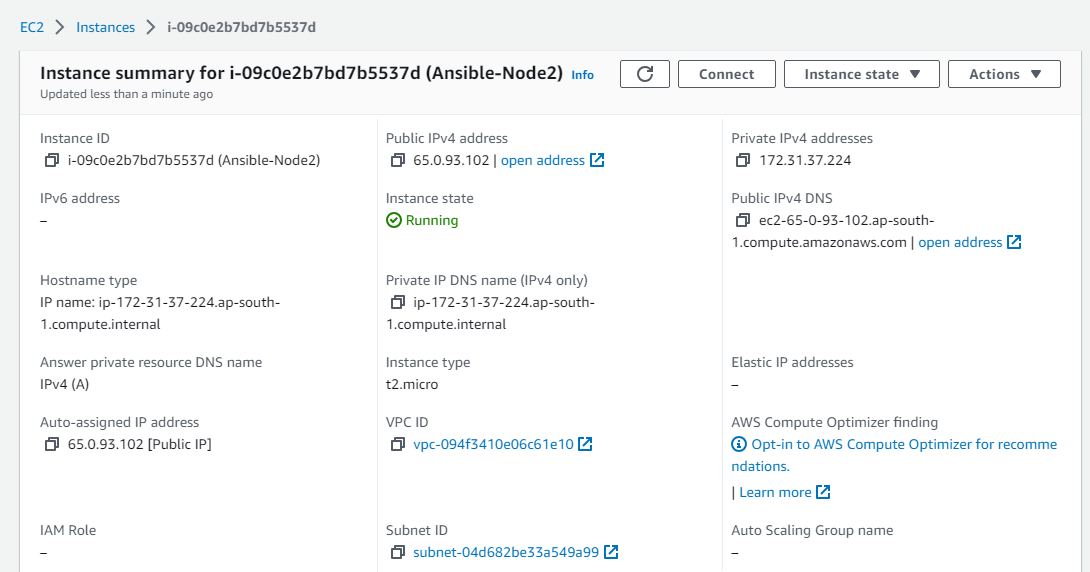
Once the instances are launched and running, note down their IP addresses or hostnames.
Update your Ansible inventory (Hosts file) with the new instances:
Open the Ansible inventory file (e.g.,
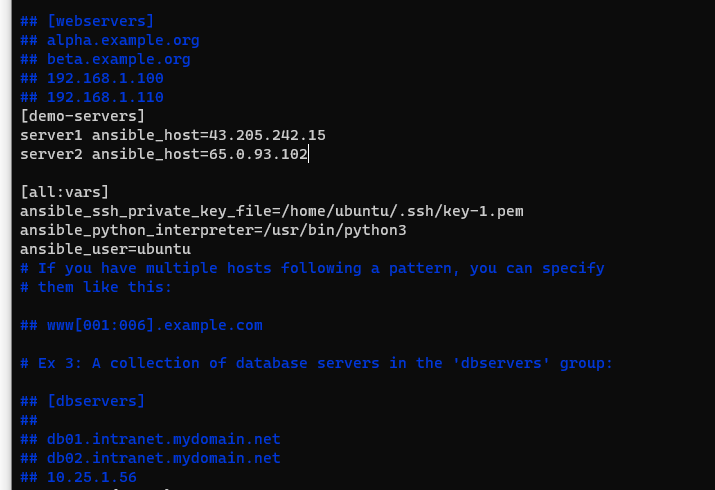
/etc/ansible/hosts) on your Ansible control machine.Add the IP addresses or hostnames of the new instances to the appropriate groups or create new groups if needed. For example:
  [demo-servers]
  server1 ansible_host=43.205.242.15
  server2 ansible_host=65.0.93.102

  [all:vars]
  ansible_ssh_private_key_file=/home/ubuntu/.ssh/key-1.pem
  ansible_python_interpreter=/usr/bin/python3
  ansible_user=ubuntu
Save the changes to the inventory file.
Copy the private key to the master server where Ansible is setup
copy the ssh key to the Master node.
scp -i "key-1.pem" key-1.pem ubuntu@ec2-35-154-69-87.ap-south-1.compute.amazonaws.com:/home/ubuntu/.ssh
Try a ping command using Ansible to the Nodes.
ansible demo-servers -m ping

Thankyou....


